
Cart
You have no items in your shopping cart
Tubey or not tubey? That is the question!
In recent years, you may have been hearing about tubeless tires more and more frequently. But if you're not already tuned in, it might seem a bit opaque. What does it mean, how does it work, and why would you want to go to all that trouble? We want to demystify some of the things around going tubeless for you, and hopefully help you figure out if it's the right move for you.
First and foremost: What does tubeless mean? Just as the name implies, tubeless setups involve inflating your tires and setting up your bike's wheels without any tubes. It's not quite as simple as taking any bike, any tire, and any wheel, and simply removing the tube, however. In a tubeless setup, you'll need specifically labeled tubeless ready tires, a tubeless compatible rim, and special rim tape. You will also need a specific valve core to inflate your tire. And, of course, you'll need to get sealant. Sealant is the thing that makes tubeless setups able to function. The tire, wheel, rim tape, and valve all need to get set up in a fairly conventional way, but then instead of inserting a tube into that tire, you'll be pouring the sealant in. That sealant is what works in the place of a tube to hold the air inside, by coating the interior of the structure and sealing the air in. It does take a bit of finessing to do without making a mess, but the next step is going to be seating your tire bead. This needs to be done with a blast of air. In shops, it's very easy to do with an air compressor, as they have the amount of pressure needed to seat the bead consistently and easily. At home, it's a little harder. Without access to a compressor, you're left with just a floor pump to get the job done. If your floor pump doesn't have a high enough volume in the air chamber to allow you to push with enough force to seat the bead, it might not be something you're able to do at home. CO2 canisters are also not always a viable option in non-emergency situations, as the CO2 can interact with the sealant and cause it to separate or cure. It will vary case-by-case, but it's always best not to take chances. Of course, if you're stuck in an emergency situation and it's a matter of making it home, CO2 will definitely be your friend, but once you get home, it's best to replace any CO2 with regular air using a pump. Once the tire bead is seated, however you get it done, it's time to get your tire up to the appropriate air pressure, and get it back on the bike!
There are many reasons folks choose to go tubeless, and most of them do it for performance reasons. Namely, there are many puncture-prone riding styles that benefit from the self-sealing properties of tubeless, with the option to very simply plug it up if there is a larger puncture. People also cite decreased rolling resistance on many surfaces, along with the ability to ride at lower air pressure, which improves traction, without running the risk of pinch flats. These lower pressures also contribute to better performance and comfort on many surfaces! For people who are more performance-oriented riders, setting up your bike to be tubeless is worth all the effort and cost.
While many performance-oriented riders will be happy to put in the effort to maintain a tubeless setup, most utility-focused riders might not be. Running your bike tubeless is messy, finnicky, and a bit more costly. Getting tubeless-ready rims and tires, along with sealant, rim tape, and valve cores costs money, not to mention needing to have access to something like a compressor to lock it in! It's also a lot of trouble to get the fit and setup dialed in, and remembering to maintain the sealant and air pressure all the time can be a bit of a hassle. People may enjoy tubeless even on utility-focused bikes, but since they receive only marginal gains for the effort, many practical riders don't bother.
No matter how well prepared one is, there is always the chance that fate will throw a curveball. Emergencies can always happen. In the event of a truly terrible tear, there are many options, like stuffing bacon strips or Stan's DARTs into the hole to seal it, but with an extreme situation, you've got a surefire solution in tubes. You can always set it up tubeless again when you get back to safety!
Setting up tubeless can be a bit challenging, but if you're willing to take on the trouble, we've got what you need.
Here are some of our favourite tubeless tires:
and here are some things you'll need to set them up:
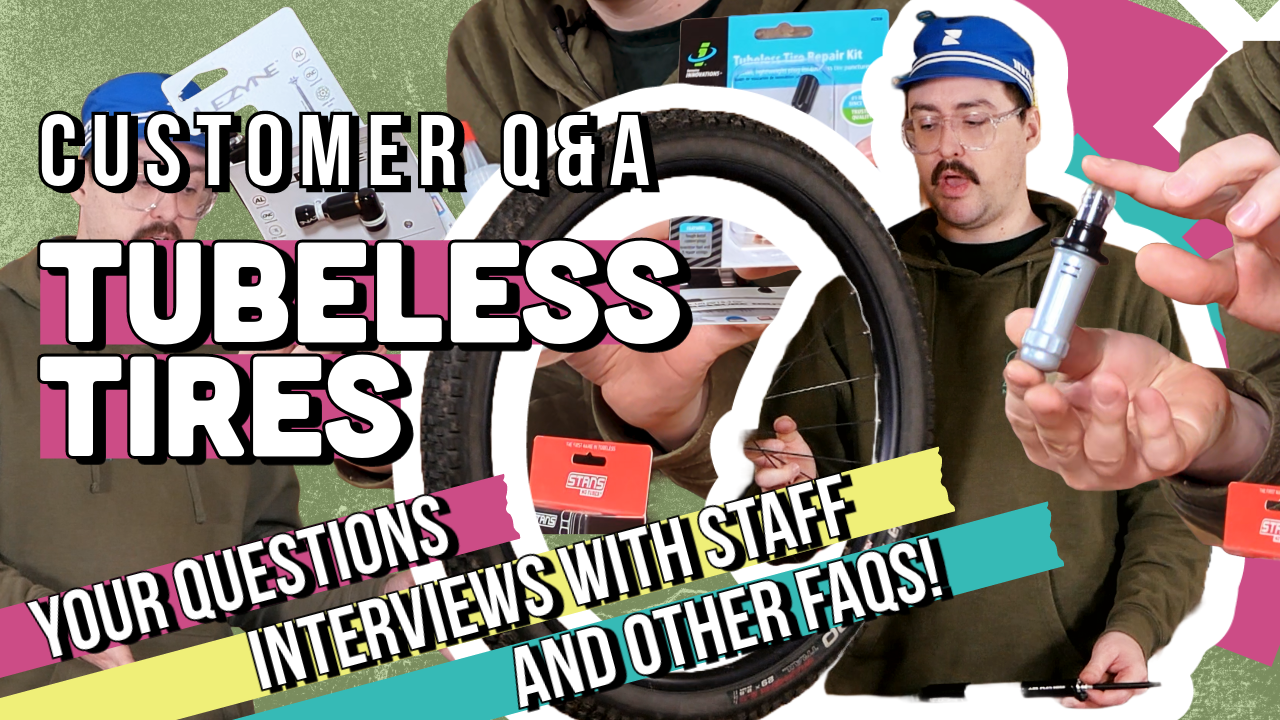
We also answered some customer questions in this video here:
If you don't want to set it up yourself, you're all good! Book an appointment with our friendly service team and we'll help you get riding.
Comments
Be the first to comment...